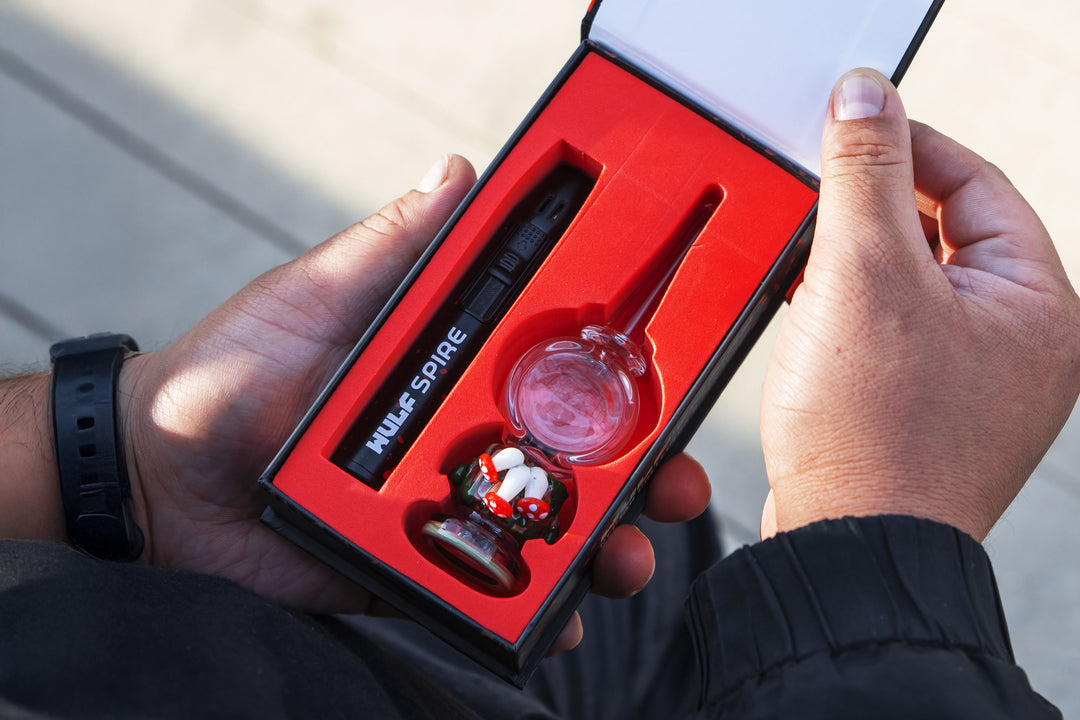
How To Clean Your Wulf Growler Electronic Dab Rig (Quick 2026 Guide)

As Sir Isaac Newton’s Third Law states “for every action (force) in nature, there is an equal and opposite reaction” and as you’d have, it turns out the very laws of physics that govern our reality, don’t exclude vaporizers!
This means that for every mind blowing dab you rip from your Wulf Growler Electronic Dab Rig, there is an equal and opposite amount of cleaning required in order to keep your vapor smooth, flavorful, and potent.
That’s why Wulf is here today to break down how to clean your Wulf Growler Electronic Dab Rig and give you our expert step by step tips that make maintenance fast, simple, and efficient.This way you can spend more time seshing with your friends and less time cleaning.
With over 10 years in the vaporizer game, Wulf has all of the insider information and deep wealth of knowledge for you to elevate your sessions to the next level and make getting the most out of our vaporizers, like the Wulf Growler, easy.
Why Cleaning Your Wulf Growler Matters
Much like everything you clean, it’s purely based on aesthetics, but instead an act of prevention in order to prevent something much worse from coming to pass.
Unfortunately while cleaning can’t stop you from accidentally ripping through all of your dabs in a night, it absolutely can help you keep your vaporizer operating at maximum efficiency in order to provide you the best possible vapor.
This is because residue build up from vaping affects:
- Vapor production
- Airflow
- Flavor quality
- Heating efficiency
- Overall session quality
- Vape life span
- Your enjoyment
- Material effectiveness
This is where routine cleaning comes in as a shield to help prevent these issues, all while letting you use your Wulf Growler at its very best. Luckily for all of us, keeping the Growler clean is incredibly easy when you know what you’re doing, which is precisely why we put together this guide.
Signs Your Wulf Growler Needs Cleaning
Not sure if it's time for a cleaning session with your Wulf Growler? You don’t need to be Sherlock Holmes here, instead there are some very common red flags ranging from performance issues to visual accumulation that will tip you off that something is up.
Common indicators include:
- Reduced vapor production
- Dark residue inside the chamber
- Restricted airflow
- Altered flavor
- Sticky components
- Longer heat up times
If you notice any of these symptoms, this means that your Growler is probably ready for some attention. As no one’s going to stencil “Clean Me” on your Growler, it’s up to you in order to watch out for these signs and stay on top of things during your sessions.
Don’t forget that once properly cleaned, you’ll be able to enjoy bigger clouds from your Wulf Growler, so always remember that the light at the end of the tunnel is far more satisfying sessions to keep you going!
What You'll Need To Clean The Wulf Growler
Before kicking off this Wulf Growler cleaning guide, we wanted to create a list of all the most basic supplies you’ll need in order to get started. This can be picked up at a wide variety of big box or pharmacy stores, which makes getting your hands on all this easy.
To clean you’ll need:
- Cotton swabs
- Isopropyl alcohol (91% or higher preferred)
- Warm water
- Soft paper towels
- Small cleaning brush if available
- Rubber gloves (by preference only)
Having everything ready beforehand makes the process much quicker and easier. This way you don’t get half way through cleaning, only to realize that you don't have the right tool for the job and are left stuck without a way to finish.
You can also make things a lot easier on yourself by using our tailor made vaporizer cleaning supplies, with a variety of swabs and isopropyl cleaning wipes that have just the type of power required to break down the notoriously hard to remove vaporized leftovers.
Step 1: Turn Off The Device Completely
Before you do ANY CLEANING on your Wulf Growler you MUST first power off your vaporizer by pressing the power button 5 times in a row.
Excuse us all, but we really want to emphasize that you should never clean any vaporizer while the power is still on. Electricity and cleaning simply do not mix. So if you want to clean, just double check you’re all powered down to begin with.
Make sure your Growler is:
- Powered off
- Unplugged from chargers
- Completely cool to the touch
In addition to being powered off your Growler should also be fully unplugged from the charger and cool to the touch. You don’t want to clean the Growler while still warm after dabbing, as this can lead to issues with moisture reacting poorly to the excess heat.
By following these steps you can ensure that both you and your Wulf Growler are 100% during the entire cleaning process.
Step 2: Disassemble The Growler
Once your Growler is off you can now disassemble the three main components. This will let you access each of them with far greater ease and makes for a more precision cleaning experience that cleans every last nook or cranny.
Disassemble the following:
- Water tank
- Concentrate Chamber
- Silicone tether
Once disassembled, place each component on a soft cloth or paper towel. This will give you a central cleaning location and place to dry the parts, making sure that nothing ends up lost in the maintenance process by accident.
Step 3: Empty And Rinse The Water Tank
Remove the base from the water tank and dump over any left overs. Then flip the mouthpiece lock off and let running water flow through it for a minute. This will provide a tertiary cleaning, ensuring that most materials are removed.
If you notice any additional materials left over after rinsing or still feel “sticky” components, then we recommend breaking out the isopropyl alcohol and using a dampened swab to work away at these danger spots.
It may take a few passes, but this should be able to remove any leftovers. Be sure to pay special attention to the mouthpiece as well, as you don’t want this to get clogged or gunked up from repeated use.
In general, water tanks tend to collect visible residue faster than other components. So you’ll need to pay special attention here and always make sure you’re keeping your water fresh.
For cleaner tank:
- Change water regularly
- Rinse frequently
- Avoid allowing dirty water to sit for extended periods
- Deep clean when buildup becomes visible
Maintaining clean tanks helps preserve both aesthetics and performance, all while ensuring that your overall cleaning is far easier. So always swap your water and don’t let things turn into a swamp… Shrek doesn’t like company.
Step 4: Clean The Concentrate Atomizer
As the beating heart and actual playing field for all of your concentrate vaporization, the blue pad atomizer on your Wulf Growler requires special attention while cleaning.
We recommend:
- Always proceeding gently
- Dampening a cotton swab with isopropyl alcohol
- Using the swab to scrub away left over material
- Repeating the process as many times as necessary
- If stains persist, soak your chamber in an isopropyl bath
This will help take care of stains old and new, letting you both maintain your Growler and help you dig yourself out of any cleaning holes you’re currently in.
Remember that excessive force can lead to you damaging your atomizer, so make sure to be gentle while cleaning and conscious of how much pressure you’re putting on the blue concentrate pad.
Step 5: Clean The Silicone Tether
As the silicone tether sits both above and around the chamber, this means that it gets exposed to quite a lot of sticky concentrate left overs.
That’s why if you want to leave sticky fingers to The Rolling Stones, then we recommend taking the time to fully clean your Growler silicone tether. The process is very similar to cleaning your chamber, but far easier thanks to the ease of cleansing silicone.
We recommend:
- Dampening a cotton swab with isopropyl alcohol
- Using the swab to scrub away left over material
- Repeating the process as many times as necessary
- If stains persist, soak your silicone tether in an isopropyl bath
A sticky top on your Growler won’t end the world, but it will be a daily annoyance that can eventually mess with your airflow. So make sure to give the tether some love while cleaning and enjoy a far smoother experience with your Growler.
Step 6: Wipe Exterior Surfaces
Don't forget the outside of your Growler. With how much time it spends in your hands and being passed around with friends, overtime your vaporizer exterior can end up getting dirty. Avoid this all with a quick pass while cleaning.
Wipe down:
- Power button
- Water tank connection port
- Screen
- Exterior surfaces
Keeping the exterior clean helps preserve appearance and prevents sticky residue from accumulating over time. You don’t want to hand a friend your vape only for them to need to wash their hands after, so keep it clean with a wipe down every now and then.
Step 7: Allow Everything To Dry
Last but certainly not most least, we wanted to sound the alarm because you must wait for your Growler components to fully dry before reassembling. Leftover moisture can seriously hamper your vaporizer, so never rush this step or else risk your vaporizer's functionality.
After cleaning:
- Allow all components to dry fully
- Ensure alcohol has completely evaporated
- Double check the chamber before use
Slow and steady doesn’t just win the race here, but avoids the absolute disaster of leftover moisture causing a short circuit or worse. So just calm down, wait for your vape to air dry, and things will stay safe.
Step 8: Reassemble The Growler
Once every component is 100% dry, you can now move on to reassembly each of the components of the Wulf Grolwer.
- Reattach the water tank
- Twist the atomizer back into place
- Reattach the silicone tether
Now you can kick back, relax, and enjoy the fruits of your labor with a freshly cleaned Wulf Growler Electronic Dab Rig. With better flavor and stronger vapor, it’s time for you to start howling with your session!
How Often Should You Clean Your Wulf Growler?
Wulf recommends that you clean your Wulf Growler with a q-tip or swab after every session and perform a more in depth deep clean once every couple of weeks.
This will help ensure stains and leftovers don’t have the chance to accumulate, all while preserving the best possible flavor, potency, and overall cloud density.
While you can get away with less cleaning, if you want the best possible performance and longest life span, then following our more frequent cleaning regiment is going to be your best bet.
After a few cleaning passes however, it’ll simply become an essential part of your routine and come to enjoy the simple pleasure of keeping everything sparkling clean. Following a consistent maintenance schedule is one of the best wulf growler maintenance tips available.
Top 4 Common Growler Cleaning Mistakes To Avoid
Having spent extensive time testing the Wulf Growler and ripping it with Wulf Pack members just like yourself, we noticed that there were a couple of common mistakes that stuck out due to their frequency and level of ease to correct.
This means while annoying, once you know not to do them you won’t have any trouble doing things the right way going forward.
Avoid these common issues:
- Cleaning While Hot: Always allow the device to cool completely first.
- Using Excessive Liquid: Too much alcohol can create unnecessary risks around electronic components.
- Skipping Airflow Cleaning: Many people focus only on the chamber while ignoring airflow pathways.
- Waiting Too Long Between Cleanings: Regular maintenance is far easier than removing heavy buildup later.
Now that you’ve got the heads up on these, steer clear of them during your own sessions and you can guarantee far better results. Knowledge is power and in this cause power is getting you more elevated during your sessions.
FAQ: Cleaning The Wulf Growler Electronic Dab Rig
How Often Should I Clean My Wulf Growler?
You should clean the Growler atomizer after every session and make sure to wash out the water tank as well. This will help prevent 99% of your cleaning issues and allow you to only have to periodically deep clean every few weeks.
Can Residue Affect Vapor Production?
Yes. Residue buildup can reduce airflow and heating efficiency. This leads to smaller clouds and a much less rewarding session.
What Alcohol Should I Use For Cleaning?
Many people use isopropyl alcohol for vaporizer maintenance. It can be bought at many local big box stores or pharmacies.
Should I Clean The Water Tank Separately?
Yes. Cleaning the tank attachment separately provides the best results and helps ensure that you don’t get any water near your battery.
How To Clean Electronic Dab Rig Components Safely?
Follow the basic principles including powering off completely, keeping liquids away from the battery, only using appropriate cleaning supplies, allowing for ample drying time, and always following all of our manufacturer recommendations.
As a company that's spent more than a decade helping people vape responsibly, Wulf strongly encourages routine maintenance and safe cleaning practices in order to get the most from your clouds.
Can Dirty Airflow Channels Cause Weak Hits?
Absolutely. Restricted airflow is a common cause of reduced vapor production.
How Long Should I Let The Growler Dry?
Allow all components to dry completely before reassembly and use. Never attempt to use your Wulf Growler if any moisture remains.
Can I Use Water To Clean Everything?
Water works well for glass but may not effectively remove concentrate residue from all surfaces.
Why Does My Growler Taste Different After Cleaning?
Residual buildup may have been affecting flavor. A clean chamber often restores intended flavor profiles.
Does Regular Cleaning Extend Device Lifespan?
Yes. Consistent maintenance helps preserve performance and overall longevity.
Stay Growling
Keeping your Wulf Growler clean is one of the easiest ways to maximize flavor, improve airflow, increase vapor production, and extend the life of your device. Fortunately, routine maintenance only takes a few minutes and can dramatically improve your overall experience.
For more helpful information just like this, make sure to check out the Wulf Help Center right here. Stay howling out there y’all! Arooo!